Every project starts with an architecture and reusable components that help us to develop mobile applications much faster.
In this article you will learn how to create a simple CocoaPod framework using Swift language.
What you need
- xCode — https://developer.apple.com/xcode/
- CocoaPods gem — sudo gem install CocoaPods (using terminal)
1.Create pod project
Open terminal and go into project folder

- Now you have created projectChange .podscpec file content
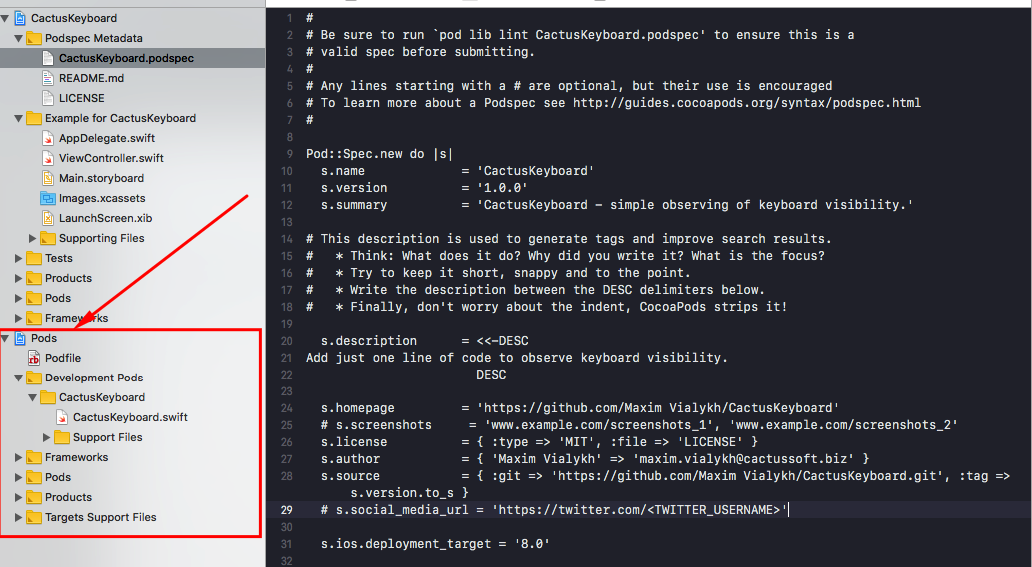
2. Write your code
Click here to see the example.
3. Submit your pod
Tag your most recent commit and push it to the remote.
This step indicates that you are marking this commit as a specific release of your pod. The name of the tag should match s.version in your .podspec file. The next step will validate this.
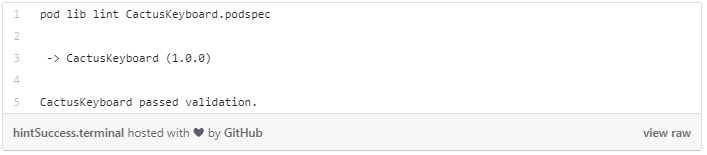
Next, run the following command from the command line to verify that everything is correctly configured between the location of your source code and your .podspec file:

This should output the following:
Finally, push the spec to the Specs repository by executing the following command:

This should output the following: click here.
Result
You now have your own pod ready to use. Just add it to a new project in Podfile and use it.

Remember, if you spend some time with library now, you will be able to reuse it in future projects for days, week, even years!

Maxim Vialykh is CactusSoft iOS Tech Lead.
Technical Background
Programming languages: Swift, Objective-C, Java
Technologies and Platforms: iOS, Android, Windows Phone, Amazon S3, Google Cloud, Google APIs, Facebook APIs
Frameworks: PhoneGap, Xamarin
Tools: Invision, SVN, Git, PhoneGap, Titanium, Xamarin, Sketch, xCode, IntelliJ IDEA